Axis X setup
Connect your Axis X POS to your card payment terminal
A step-by-step guide to pairing your EFTPOS terminal. It takes about five minutes and only needs to be done once per terminal.
Step 0
Before you start
- An active EFTPOS merchant account (set up with your bank when you received your terminal).
- Your EFTPOS terminal powered on, and your Axis X terminal connected to the internet (Wi-Fi or mobile data).
- First-time setup only: if this is the first time you’re using the Axis X app on this device, open Settings → Connection, paste in the API key you received when you signed up, and save. You only need to do this once per device.
Part A · On your terminal
Generate a pairing code
These steps are performed on your EFTPOS terminal (Ingenico Move5000).
- 1
Press Func and enter 7410.
- 2
Press 2. Terminal Set Up.
- 3
Press Begin.
- 4
Press Cloud Comms.
- 5
For Wi-Fi, press Setup Wi-Fi and continue to step 6. For Ethernet, plug the Ethernet cable into the terminal and skip to step 9.
- 6
The terminal scans for available Wi-Fi networks.
- 7
Select your Wi-Fi network and enter the Wi-Fi password.
- 8
The terminal shows the network settings. Press Next.
- 9
The terminal tests the network connection.
- 10
Setup is complete. Press OK.
- 11
Press Cancel to return to the Home Screen.
- 12
The terminal prompts you to generate a pairing code. Press Enter.
- 13
The terminal displays a 6-digit pairing code. You have 180 seconds to enter it into Axis X before it expires. (If it times out, press Enter to generate a new code.)
Part B · In Axis X
Pair the terminal
Now enter the pairing code in the Axis X POS app.
- 14
Tap the hamburger menu icon in the top-right of the screen.
- 15
Open EFTPOS Terminal. The status row shows “Not Paired”.
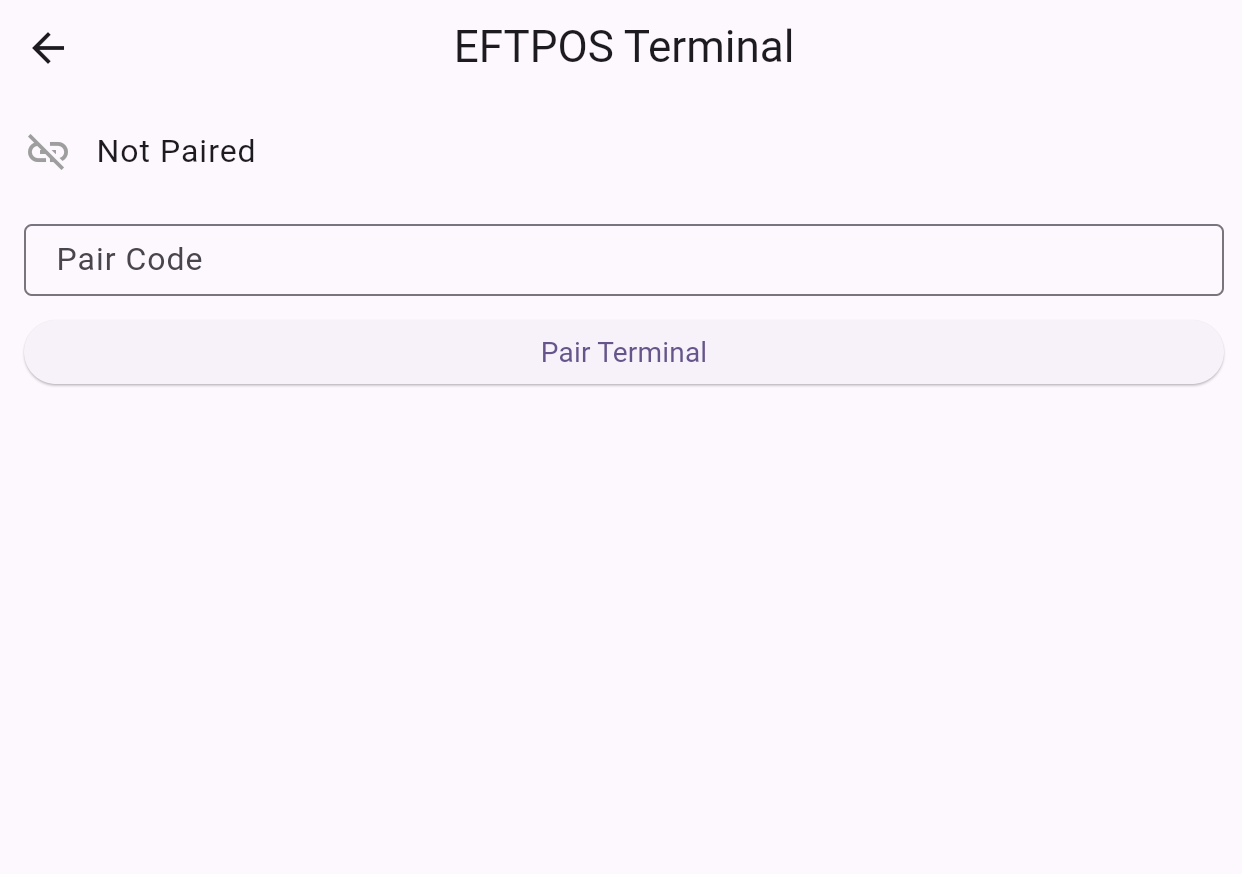
EFTPOS Terminal screen in the Not Paired state. - 16
Enter the Pair Code from step 13. (This field is numeric.)
- 17
Tap “Pair Terminal”. A spinner shows “Pairing…”.
- 18
On success, the status changes to “Paired”.
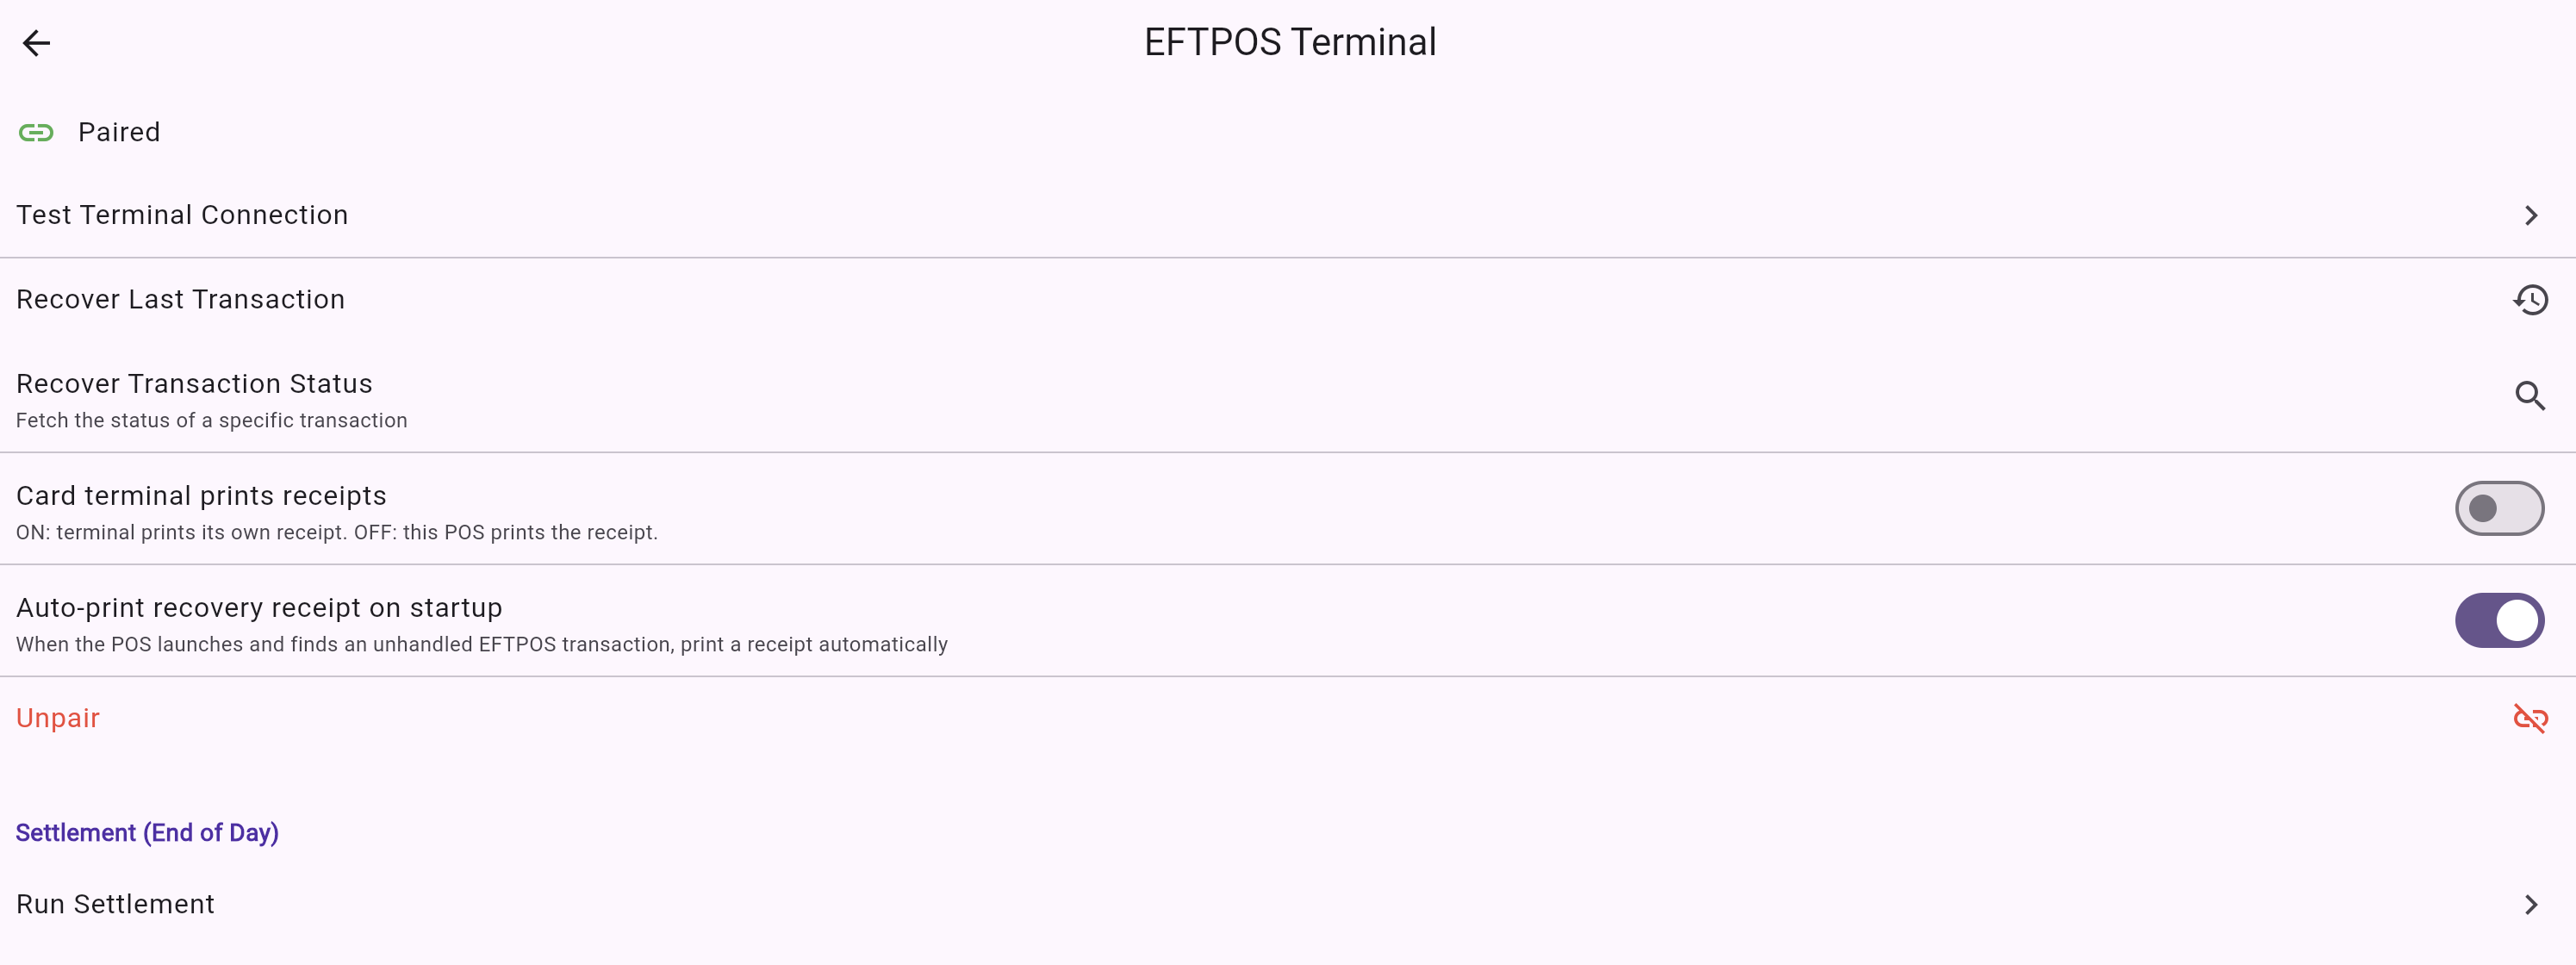
EFTPOS Terminal screen after a successful pair — additional options become available, including Unpair for re-pairing later. - 19
If pairing fails, a red error message appears directly under the status row (for example, an expired or invalid pairing code, or no internet). Re-check the code and try again — if it expired, generate a fresh one on the terminal (Func + 8880 → Enter).
Re-pairing later: to disconnect or move the terminal to another POS, tap “Unpair” in Axis X, then start again from a fresh pairing code (on the terminal: Func + 8880 → Enter).
Confirm
Confirming it worked
- The status row shows “Paired”.
- (Optional) Run a small test transaction (for example, a $1.00 sale you can refund) to confirm card payments route to your bank.
Help
Troubleshooting
- Pairing failed / code rejected
- Double-check the Pair Code — it is numeric and time-limited.
- Pairing code expired or invalid
- Generate a fresh code on the terminal and enter it promptly (you have 180 seconds).
- No internet
- Check the terminal’s Wi-Fi / mobile data — pairing needs a connection.
- “Already paired” / changing terminal
- Tap Unpair first, then pair again.
- Still stuck
- Contact Axis X support, or your bank / terminal provider.
Good to know
How it works & security
When you tap Pair Terminal, Axis X securely links your terminal to your store’s payment account. The pairing code is used only once to set up this secure link; after that, card payments are routed to your bank automatically.